By Andy Merfeld
Cornerbacks Coach
Benedictine College (KS)
Twitter: @Coach_Merfeld
As coaches, we have all heard the expression, “It’s not what the coaches know, it’s what the players know that really matters.” I think most of us believe in this statement, but how many of us truly practice it? How many of us emphasize player learning as a central tenet of our programs? As coaches, our success is directly linked to our ability to effectively communicate with our players. We must examine complex problems, come up with solutions within our existing scheme, and figure out how to impart the necessary information to our players. One of the reminders I keep on my desk is to “be the best teacher on campus.” Over the course of my career, I have spent a lot of time thinking about better ways to teach and communicate with players. In this report, I want to share some ideas for teaching and learning aids that I have used. I am indebted to several other coaches for most of these ideas and tried to give credit to the proper men where I could. Among those not otherwise mentioned, I am specifically grateful to John Steger at the University of Minnesota Duluth, Travis Walch (formerly of the University of St. Thomas), Dante Bartee at Cal-Berkeley, and Justin Wyatt at Upper Iowa University.
As an aside, I want to emphasize that I started out as a high school coach and have always worked at the small-college level where we are not blessed with an army of support staffers. With some organization and creativity, I think all the activities I will discuss today are doable at any level of football. Secondly, I would like to make a disclaimer that my background is primarily coaching the secondary and many of my examples relate to that area, but I believe most of these practices can be adapted to other positions and the offensive side of the ball as well.
In this report, there are a few different areas on which I’d like to focus. One area focuses on the general procedures I use in my position meetings. A second area where I will spend some time is on special activities in position meetings. Thirdly, I wanted to pass along some general guidelines that I have found help facilitate player learning and information retention.
Position Meetings: General Procedures
I am a firm believer in requiring players to sit in their position groups in meetings. In a smaller setting, this means I have the safeties grouped together and the corners grouped together. The primary reason for doing this is to allow the players to coach each other throughout the meeting. I always make it clear that quiet conversation is encouraged within groups (if it is on topic, of course). If I’m covering a coaching point for the corners and one of the young safeties has a question about something different, I will let one of the older safeties quietly help the younger one. If the point is especially important or I want the players to hear a different voice, I might ask the older player to explain the point to the entire group. I feel like this format allows us to cover as much ground as possible in a limited amount of time. It also gets the older players more invested in our scheme and in the development of younger players. Allowing the players to coach each other benefits both the player doing the teaching and the one(s) who are learning. As we know, the best way to learn a skill or concept is to have to TEACH it to someone else. I also try to be very clear about the players needing to be comfortable communicating with and coaching each other, since that is essentially what they have to do on the field all the time (the theme of players working with and coaching each other will be consistent throughout this report).
Sitting in position groups can also be used in larger settings where the entire offense or defense is meeting together, or in a special teams meeting where players can sit in small groups with their position coaches (the coach working with the right side of the punt team, as an example) and get extra coaching while the lead coach runs the meeting.
In the defensive systems in which I have coached, the safeties are responsible for nearly all the pre-snap communication among the defensive backs. In my meetings, I require the safeties to make each coverage check in the meeting just as they would if they were on the field. When we watch practice or game film, whoever is in on the play we are watching makes the check in the meeting. This serves several purposes. From a practical perspective, it keeps the players active and involved in the meeting. Secondly, it gives the players many more quality mental reps. They get the coverage call from me in the meeting (just as they would get it from the sideline in a game), go through their mental checklists, and must make a clear and confident coverage check. (Depending on the situation, you may not even need to watch the play! You could just have the safeties make their checks and move on to the next play.) The corners, who are typically not making checks, also get repetitions listening for the checks from the safeties. Thirdly, requiring the safeties to make their checks each play allows me, as a coach, to get an accurate feel for their comprehension. If the less-experienced players are comprehending everything well, I can feel confident that everyone is ready to progress to the next concept. If the more experienced players have questions or are overly confused, I’ll know I need to slow down or possibly even back up and review the material.
Another way that to encourage players to take ownership is by giving them the opportunity to contribute to the game plan. The QB coach and offensive coordinator at Upper Iowa, Ben Curran, likes his QBs to come to their Tuesday meeting with several game-plan ideas for the upcoming game. This ensures that the players are watching the film on their own and that they are putting some thought into what they are seeing.
Position Meetings: Special Activities
Pre-Snap Coverage Test
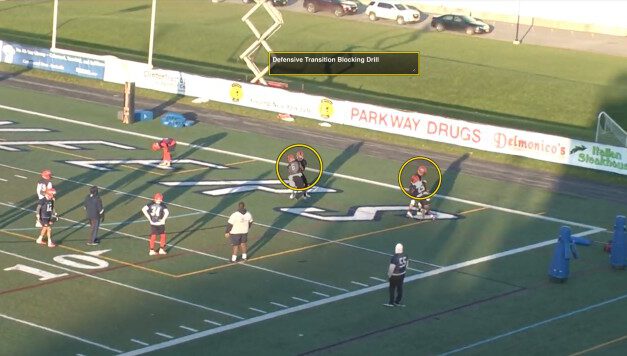
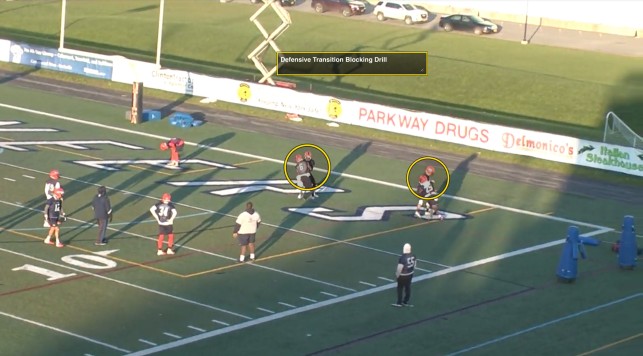
When I was coaching at Upper Iowa, we tried to place a high premium on pre-snap disguise in our secondary. One way we emphasized this is by administering a video test to the players. I believe our linebacker coach, Jason Hoskins, had the initial idea for this test. Usually, on an off day late in spring practice, I will pick out ten plays against a generic offensive formation (10 personnel 3×1, for example). Then, I will use a Hudl note to pause the video exactly one second before the ball is snapped. I will allow the players about ten seconds to look at the still picture, and they will have to write down what coverage they think we are in, as well as why they think we are in that. This forces the players to look at their own position, as well as the players around them, for clues about what coverage we are in. Clues could be based on a safety’s eyes, a corner’s stance, or a linebacker’s depth, among many other things.


306")


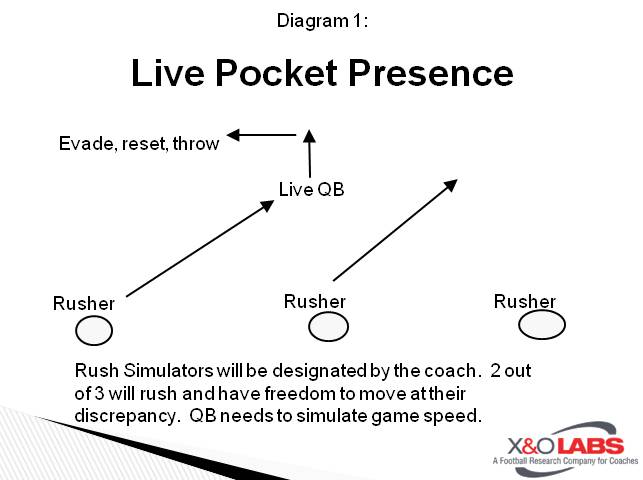
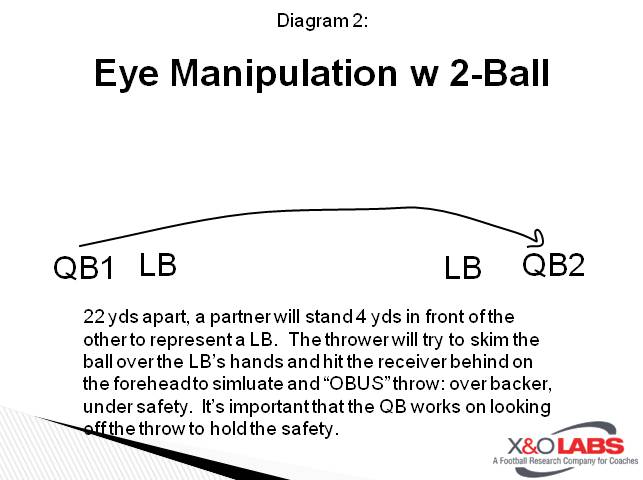
 For Quarterbacks, the offseason is when the work begins. In this clinic report, I will provide you with some new, simple, and effective ways to improve your QB play. The focus of these drills is to improve a QB’s balance, foot speed, feel, evasion, timing, rhythm, weight transfer, and confidence.